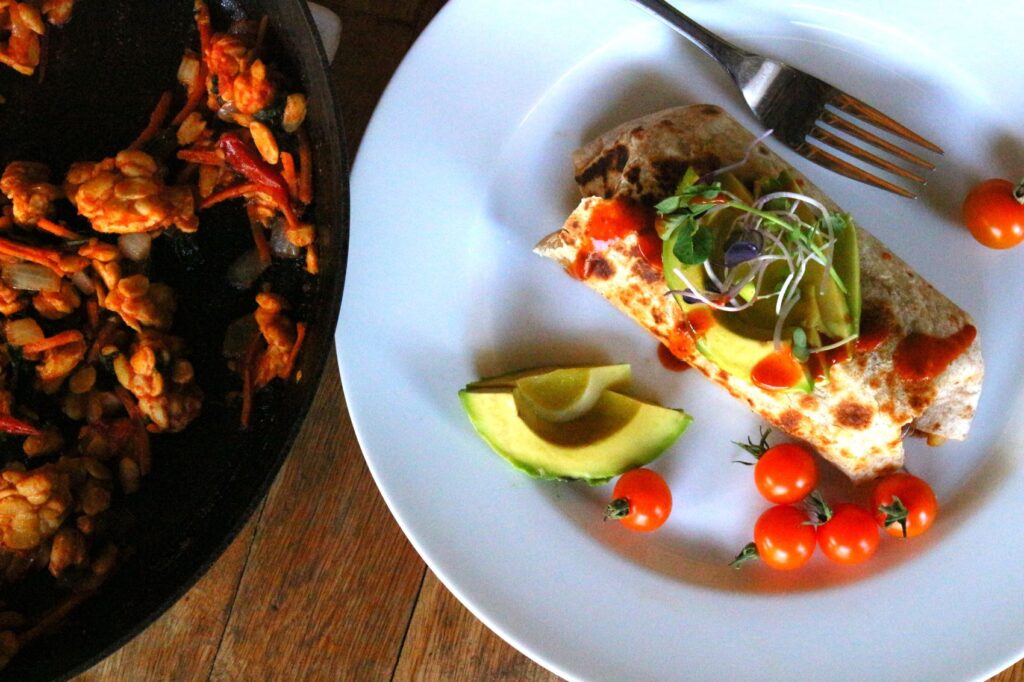
Tempeh Breakfast Burritos
In recent months, I’ve discovered I have a sensitivity and intolerance to eggs. Sadly, I
Thank you for reading this post, don't forget to subscribe!
Cinnamon Swirl Cookies
If you like cinnamon, you will love these Cinnamon Swirl Cookies. A cinch to make,
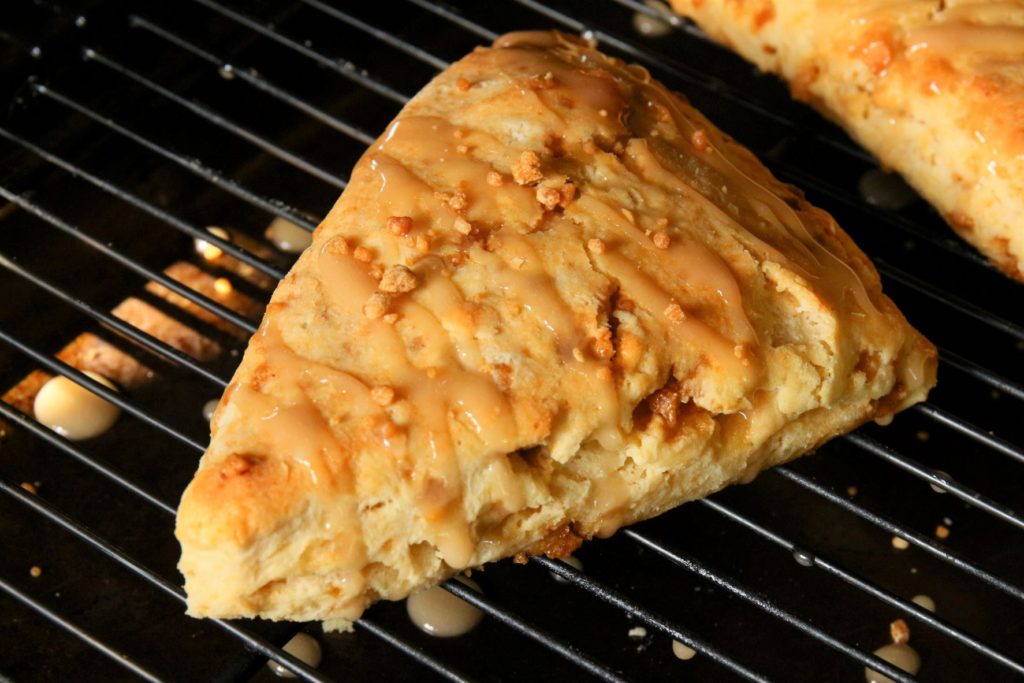
Maple Scones
These Maple Scones are tender, buttery and perfectly sweet. Flecked with maple sugar pearls and
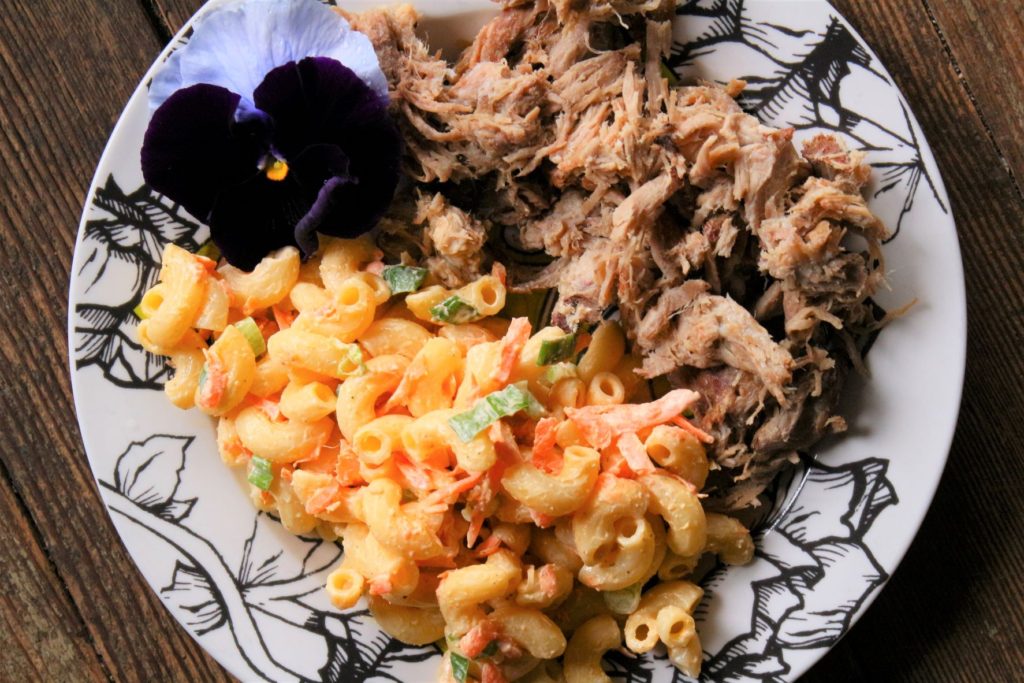
Crockpot Kalua Pork and Hawaiian Mac Salad
Crockpot Kalua Pork with Hawaiian Mac Salad is one of my favorite dinners to make.
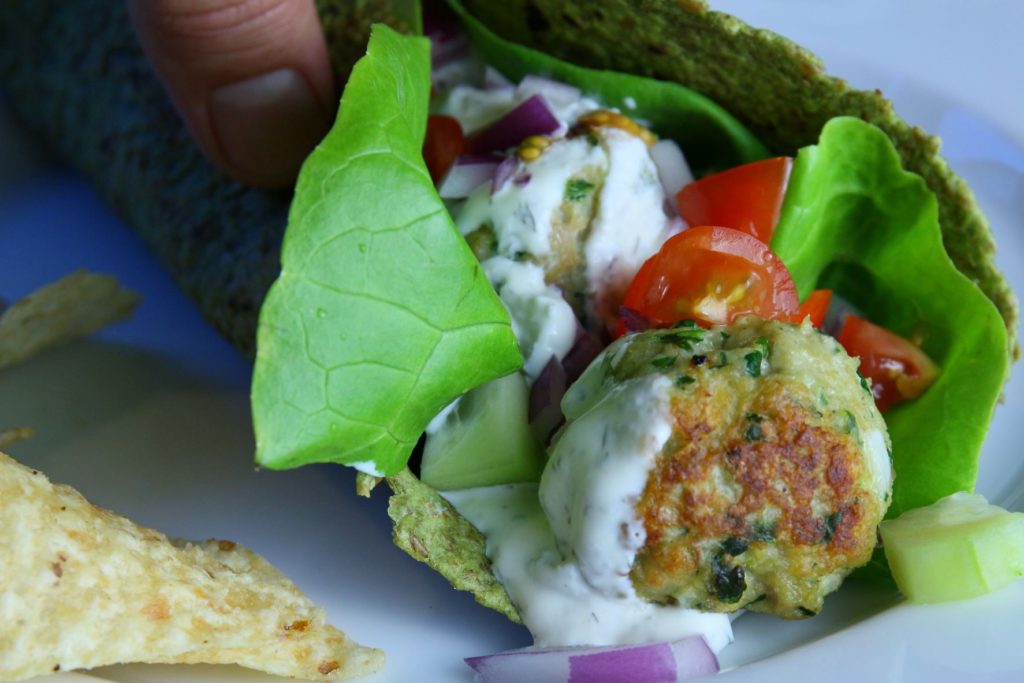
Mediterranean Chicken Meatball Wraps
My Mediterranean Chicken Meatballs are full of big, fresh flavors and are a cinch to
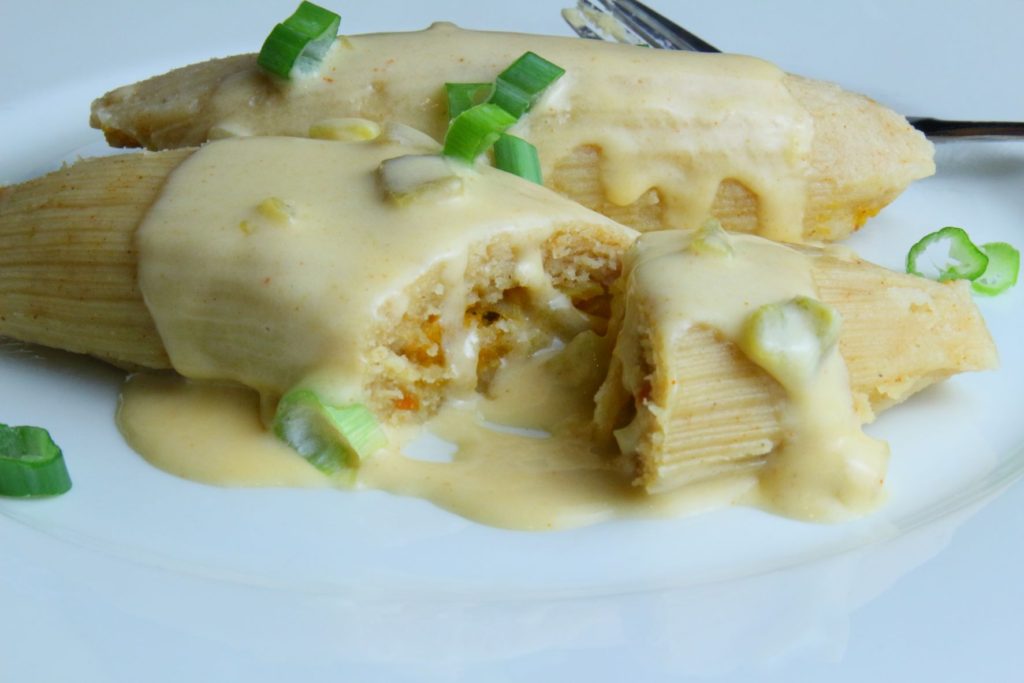
Butternut Squash and Mushroom Tamales with Queso
Homemade tamales may seem daunting, but they are surprisingly easy to make. Sure, there are